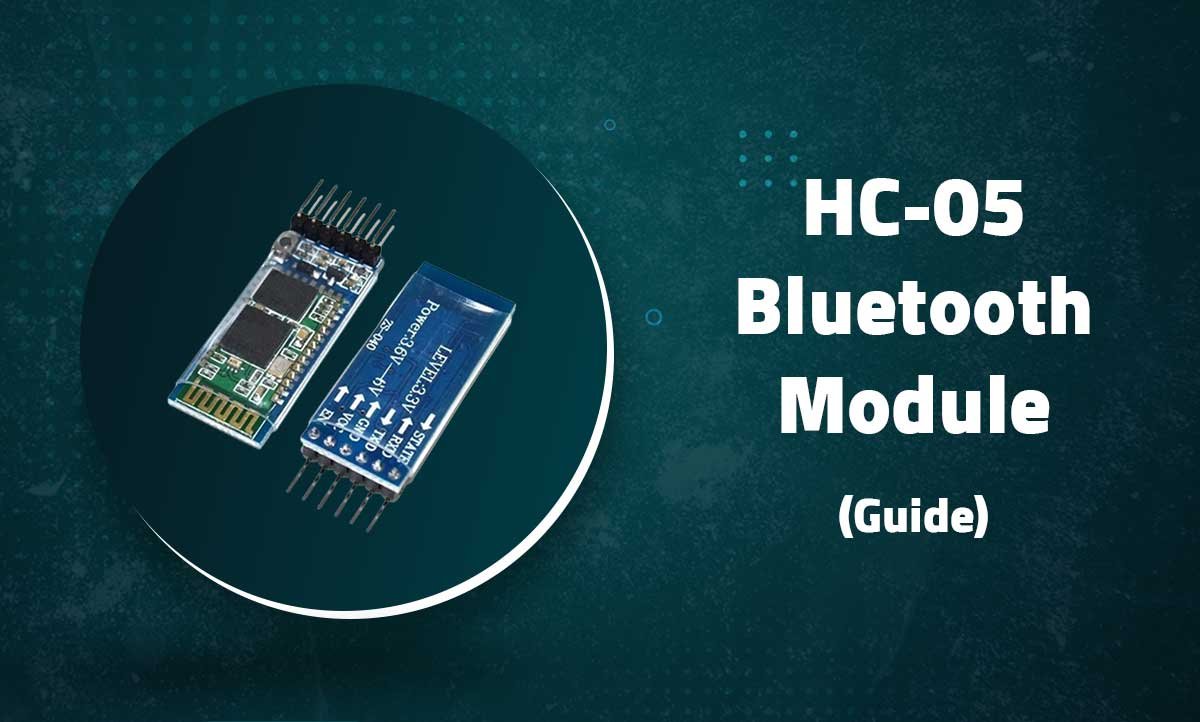
HC-05 Bluetooth Module with Arduino Guide
Related Posts
MG90S Mini Digital 180° Servo
MG90S Mini Digital 180° Servo
Metal Gear, 2.2kg·cm Torque for RC and Robotics
Introduction
...
XKC-Y25-V Non-Contact Water Liquid Level Sensor
XKC-Y25-V Non-Contact Water Liquid Level Sensor
Capacitive Detection Without Physical Contact
...
Waterproof Ultrasonic Obstacle Sensor, Sensor with Separate Probe
+
Waterproof Ultrasonic Obstacle Sensor
Distance Measurement with Separate Waterproof Probe
...
Water Level Depth Detection Sensor
Water Level Depth Detection Sensor
Liquid Measurement for Arduino and IoT Projects
Introduct...
VL53L0X Purple Laser Distance Sensor Module
VL53L0X Laser Distance Sensor Module
High-Speed, High-Precision Time-of-Flight Distance Measurement
...
TCS34725 RGB Color Sensor Module
TCS34725 RGB Color Sensor Module
High-Accuracy Digital Color Detection with IR Filter
Introd...
TCS3200 Color Sensor Module
TCS3200 Color Sensor Module
Precise RGB Color Detection for Arduino and Embedded Projects
In...
PN532 NFC RFID Read/Write Module V3 Kit
PN532 NFC RFID Read/Write Module V3 Kit
Advanced Near Field Communication for Arduino and Embedded Systems
...
HC-SR501 PIR Motion Sensor Module
HC-SR501 PIR Motion Sensor Module
Passive Infrared Detection for Security and Automation Projects

Flex Sensor 5.6 cm (Detect Bending Motion)
Flex Sensor 5.6cm
Bend Detection Sensor for Arduino and Wearable Electronics Projects
...

ACS712 Current Sensor Module
ACS712 5A Current Sensor Module
Hall-Effect Based AC/DC Current Measurement for Arduino Projects
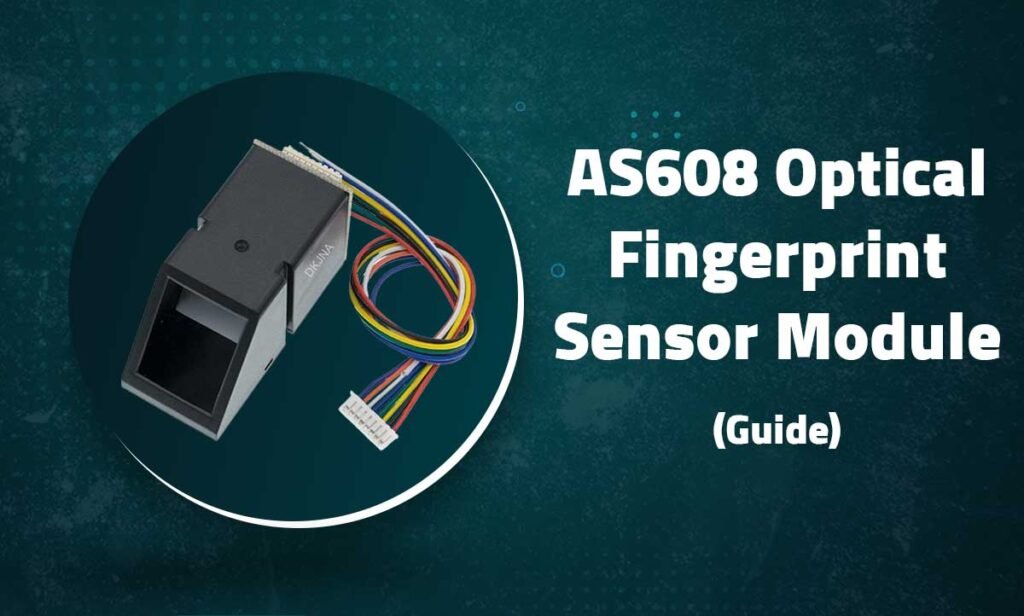
AS608 Optical Fingerprint Sensor Module
AS608 Optical Fingerprint Sensor Module
High-Precision Biometric Recognition for Arduino and Microcontroller P...