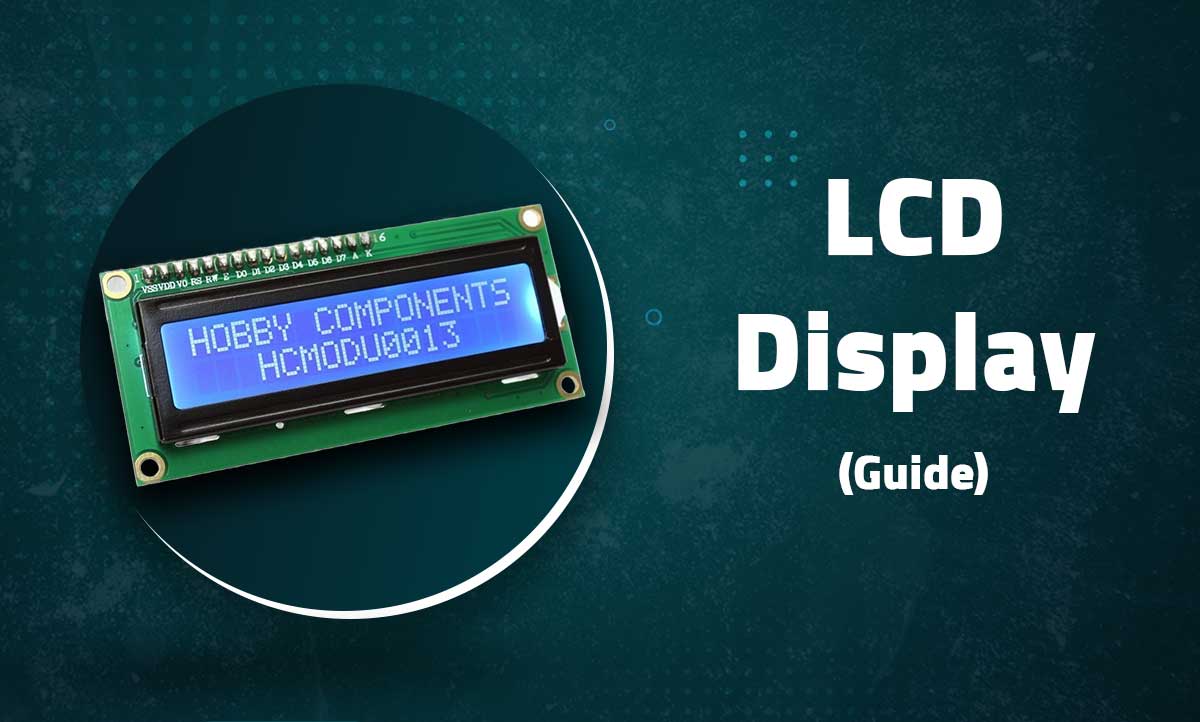
LCD1602 Parallel LCD Display with Blue Backlight
16×2 Character Display for Arduino and Microcontroller Projects
Introduction
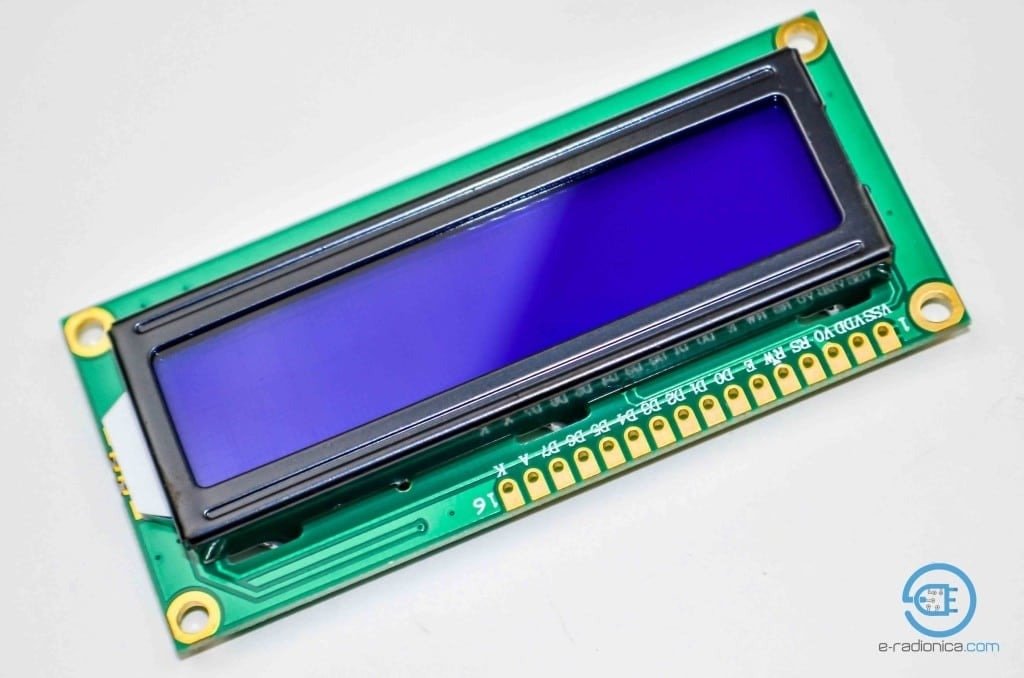
The LCD1602 display module is a classic parallel interface character LCD featuring a 16×2 character display with blue backlight. These displays use the HD44780 controller or compatible chips and are widely supported in the maker community.
 Key Features
Blue Backlight
High-contrast display with adjustable blue backlight
Character Grid
16 columns × 2 rows (32 characters total)
Parallel Interface
4-bit or 8-bit parallel communication
Custom Characters
Supports 8 user-defined characters
Technical Specifications
| Display Type | Character LCD |
|---|---|
| Display Format | 16 columns × 2 rows |
| Controller | HD44780 or compatible |
| Interface | Parallel (4-bit or 8-bit) |
| Operating Voltage | 5V (typically) |
| Backlight | Blue with adjustable brightness |
Pin Configuration
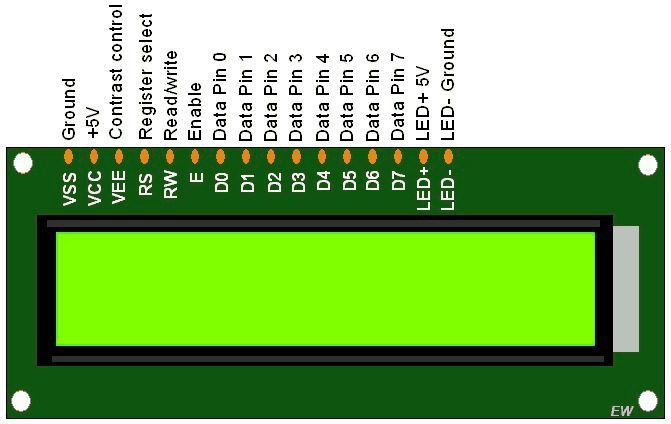
| Pin | Symbol | Description | Arduino Connection |
|---|---|---|---|
| 1 | VSS | Ground | GND |
| 2 | VDD | Power (+5V) | 5V |
| 3 | VO | Contrast adjustment | Potentiometer |
| 4 | RS | Register Select | Digital Pin |
| 5 | RW | Read/Write | GND (for write only) |
| 6 | E | Enable | Digital Pin |
| 7-14 | DB0-DB7 | Data Bus | Digital Pins (4-bit: DB4-DB7) |
| 15 | A | Backlight Anode (+) | 5V via resistor |
| 16 | K | Backlight Cathode (-) | GND |
Note: For 4-bit mode, only DB4-DB7 need to be connected
Wiring with Arduino
4-Bit Mode Connection
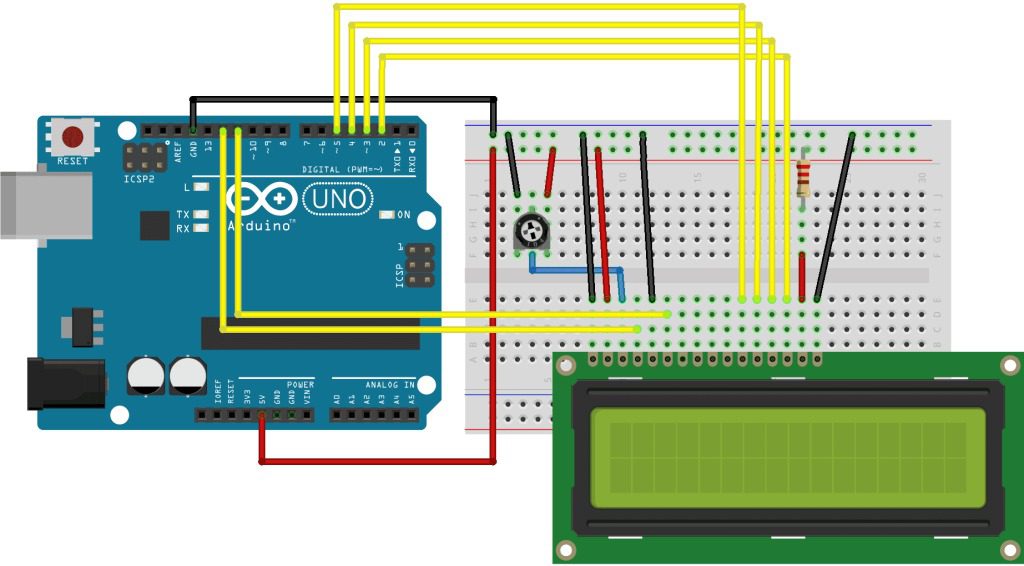
// Typical 4-bit connections:
// LCD RS → Arduino D12
// LCD E → Arduino D11
// LCD D4 → Arduino D5
// LCD D5 → Arduino D4
// LCD D6 → Arduino D3
// LCD D7 → Arduino D2
// LCD R/W → GND
// LCD VSS → GND
// LCD VDD → 5V
// LCD VO → Potentiometer center pin
// LCD A → 5V (with resistor)
// LCD K → GND
Contrast Adjustment
Connect pin 3 (VO) to a 10K potentiometer between VCC and GND for contrast control.
Arduino Library Setup
- Install the LiquidCrystal library (included with Arduino IDE)
- Include the library in your sketch:
#include <LiquidCrystal.h>
- Initialize the display with your pin configuration:
// Initialize with (RS, E, D4, D5, D6, D7)
LiquidCrystal lcd(12, 11, 5, 4, 3, 2);
Basic Display Example
#include <LiquidCrystal.h>

// Initialize the library with pin numbers
LiquidCrystal lcd(12, 11, 5, 4, 3, 2);

void setup() {
  // Set up the LCD's number of columns and rows
  lcd.begin(16, 2);

  // Print a message to the LCD
  lcd.print("Hello, World!");
}

void loop() {
  // Set the cursor to column 0, line 1
  lcd.setCursor(0, 1);

  // Print the number of seconds since reset
  lcd.print(millis() / 1000);
}
Advanced Features
Custom Characters
// Create custom character
byte heart[8] = {
  0b00000,
  0b01010,
  0b11111,
  0b11111,
  0b01110,
  0b00100,
  0b00000,
  0b00000
};

void setup() {
  lcd.createChar(0, heart);
  lcd.write(byte(0));
}
Scrolling Text
void scrollText(String message) {
  for (int i=0; i < message.length(); i++) {
    lcd.scrollDisplayLeft();
    lcd.print(message[i]);
    delay(300);
  }
}
Backlight Control
// Connect backlight through transistor
// or MOSFET for PWM control
void setBacklight(int brightness) {
  analogWrite(backlightPin, brightness);
}
Multiple Displays
// Use different enable pins
LiquidCrystal lcd1(12, 11, 5, 4, 3, 2);
LiquidCrystal lcd2(12, 10, 5, 4, 3, 2);
Troubleshooting
Blank Display
- Adjust contrast potentiometer
- Check power connections (5V and GND)
- Verify backlight is connected properly
Garbled Characters
- Check data pin connections
- Ensure proper initialization (lcd.begin(16, 2))
- Verify RW pin is grounded
Missing Characters
- Check timing (add small delays if needed)
- Verify correct column/row in setCursor()
- Ensure proper contrast setting
Related Posts
MG90S Mini Digital 180° Servo
MG90S Mini Digital 180° Servo
Metal Gear, 2.2kg·cm Torque for RC and Robotics
Introduction
...
XKC-Y25-V Non-Contact Water Liquid Level Sensor
XKC-Y25-V Non-Contact Water Liquid Level Sensor
Capacitive Detection Without Physical Contact
...
Waterproof Ultrasonic Obstacle Sensor, Sensor with Separate Probe
+
Waterproof Ultrasonic Obstacle Sensor
Distance Measurement with Separate Waterproof Probe
...
Water Level Depth Detection Sensor
Water Level Depth Detection Sensor
Liquid Measurement for Arduino and IoT Projects
Introduct...
VL53L0X Purple Laser Distance Sensor Module
VL53L0X Laser Distance Sensor Module
High-Speed, High-Precision Time-of-Flight Distance Measurement
...
TCS34725 RGB Color Sensor Module
TCS34725 RGB Color Sensor Module
High-Accuracy Digital Color Detection with IR Filter
Introd...
TCS3200 Color Sensor Module
TCS3200 Color Sensor Module
Precise RGB Color Detection for Arduino and Embedded Projects
In...
PN532 NFC RFID Read/Write Module V3 Kit
PN532 NFC RFID Read/Write Module V3 Kit
Advanced Near Field Communication for Arduino and Embedded Systems
...
HC-SR501 PIR Motion Sensor Module
HC-SR501 PIR Motion Sensor Module
Passive Infrared Detection for Security and Automation Projects
Flex Sensor 5.6 cm (Detect Bending Motion)
Flex Sensor 5.6cm
Bend Detection Sensor for Arduino and Wearable Electronics Projects
...
ACS712 Current Sensor Module
ACS712 5A Current Sensor Module
Hall-Effect Based AC/DC Current Measurement for Arduino Projects
AS608 Optical Fingerprint Sensor Module
AS608 Optical Fingerprint Sensor Module
High-Precision Biometric Recognition for Arduino and Microcontroller P...

Recent Comments